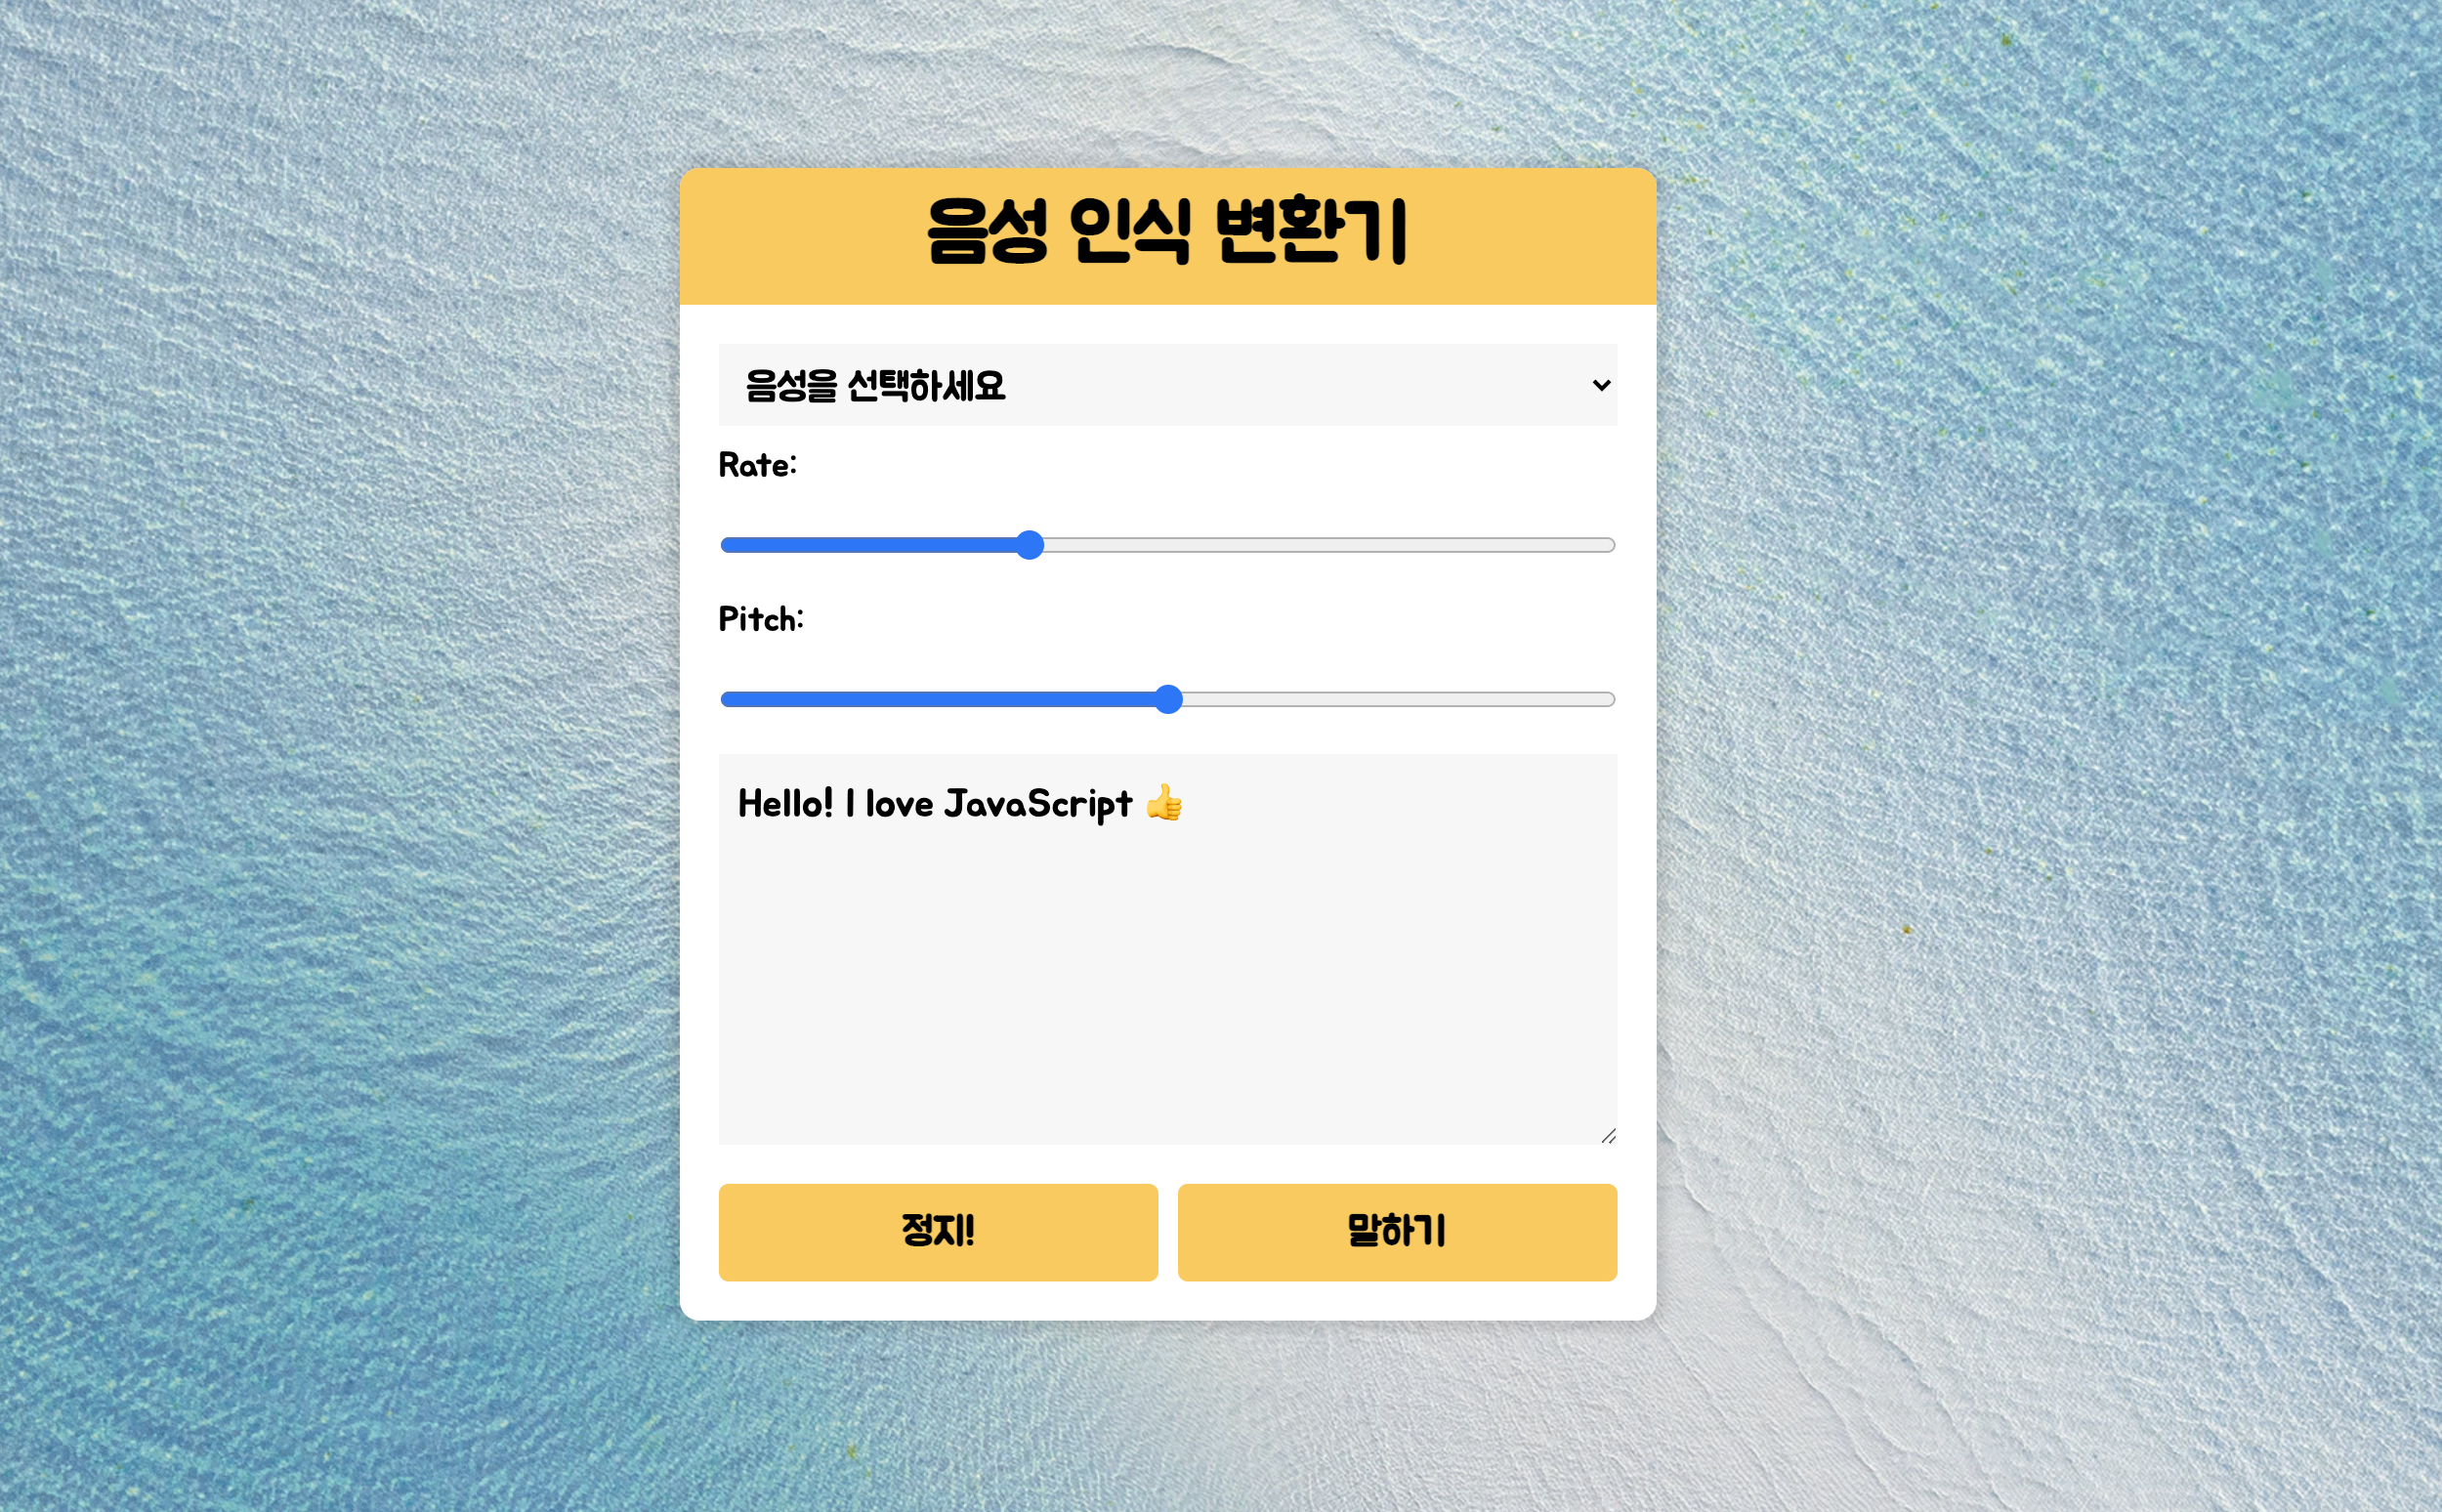
Web Speech API인 SpeechSynthesisUtterance() 를 활용한 텍스트 음성 합성기를 활용해보는 챕터였다. 배우면 배울수록 JavaScript가 다재다능한 언어임을 깨닫는다.
로직
- 선언과
SpeechSynthesisUtterance() 불러오기
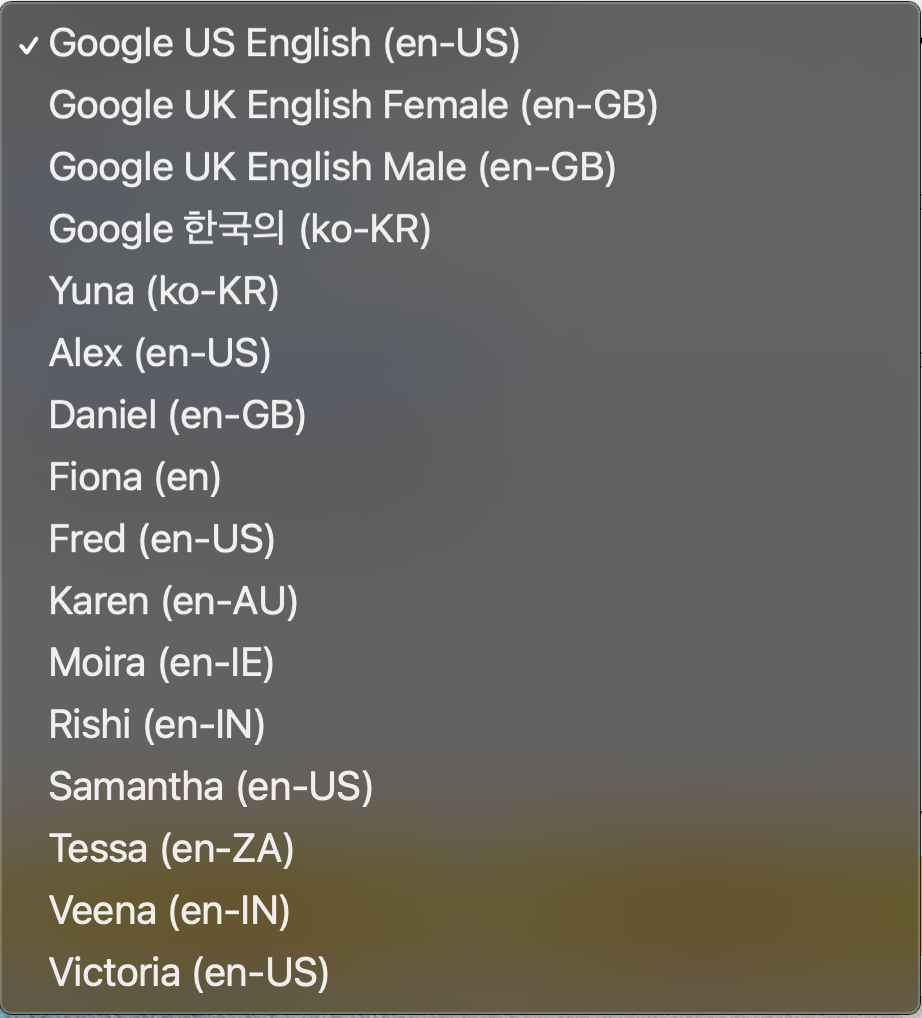
- 음성종류(voice) option에 불러오기
- 텍스트 읽기와 정지 기능 구현하기
- Rate와 Pitch값 조절기능 구현
const & Speech API
SpeechSynthesisUtterance()
💡 Web Speech API로, 스피치(말하기)서비스와 읽기관련 다양한 기능들을 제공한다.
| 이름 |
설명 |
| .lang |
언어를 불러오고 세팅함 |
| .pitch |
피치를 조절할 수 있음 |
| .rate |
말하기 속도를 조절 가능 |
| .text |
말하기 할 텍스트를 설정 및 입력 |
| .getVoices |
목소리 종류를 설정� |
| .volume |
볼륨 설정 |
버튼, 옵션인풋, 드롭다운 등을 선언해준다.
1
2
3
4
5
6
| const msg = new SpeechSynthesisUtterance();
let voices = [];
const voicesDropdown = document.querySelector('[name="voice"]');
const options = document.querySelectorAll('[type="range"], [name="text"]');
const speakButton = document.querySelector('#speak');
const stopButton = document.querySelector('#stop');
|
Voices 드롭다운에 불러오기
💡 speechSynthesis.OOO을 활용해야 한다.
voiceschanged
페이지 실행 시(로드) 실행되며, list를 불러오기 위해 주로 사용된다.
1
2
3
4
5
6
7
8
9
10
11
12
13
14
| function populateVoices() {
voices = this.getVoices();
console.log(voices);
voicesDropdown.innerHTML = voices
.filter((voice) => voice.lang.includes('en') || voice.lang.includes('ko'))
.map(
(voice) =>
`<option value="${voice.name}">${voice.name} (${voice.lang})</option>`
)
.join('');
}
speechSynthesis.addEventListener('voiceschanged', populateVoices);
|

보이스 세팅
💡 읽기(speak)를 기능하게 하도록 하기 위해선 보이스(voice)를 설정해줘야 한다.
1
2
3
4
5
6
| function setVoices() {
console.log(this);
console.log(this.value);
}
voicesDropdown.addEventListener('change', setVoices);
|


자… 이제 위의 값들을 msg.voice에 넣어주면 된다.
1
2
3
| function setVoices() {
msg.voice = voices.find((voice) => voice.name == this.value);
}
|
읽기와 정지 버튼 활성화
💡 speechSynthesis.speak || .cancel 메서드를 활용해주면 된다 !
우선! textarea에 적혀있는 텍스트가 msg.text에 할당되어야 한다.
1
| msg.text = document.querySelector('[name="text"]').value;
|
texarea에 입력된 텍스트 읽기
1
2
3
4
5
6
7
8
| function toggle(startOver = true) {
speechSynthesis.cancel();
if (startOver) {
speechSynthesis.speak(msg);
}
}
speakButton.addEventListener('click', toggle);
|
하지만…. 여기서 끝낼 경우 계속 HTML에 미리 입력해둔 “Hello! I love JavaScript 👍”만 읽는다…
⇒ 옵션을 세팅해줘야 함!
msg.text와 Rate, 그리고 Pitch값 할당
textarea나 Rate, Pitch값이 변경되면 그 값을 msg에 할당하도록 해보자
1
2
3
4
5
6
7
8
9
| const typedText = document.querySelector('[name="text"]').value;
msg.text = typedText;
function setOption() {
console.log(this.name, this.value);
msg[this.name] = this.value;
}
options.forEach((option) => option.addEventListener('change', setOption));
|

최종 완성 코드
참고로 필자는 옵션이 변경될 때마다 텍스트를 읽는게 불편해서
toggle() 이 말하기를 눌렀을 때만 실행되도록 코딩했다.
1
2
3
4
5
6
7
8
9
10
11
12
13
14
15
16
17
18
19
20
21
22
23
24
25
26
27
28
29
30
31
32
33
34
35
36
37
38
39
40
41
42
| const msg = new SpeechSynthesisUtterance();
let voices = [];
const voicesDropdown = document.querySelector('[name="voice"]');
const options = document.querySelectorAll('[type="range"], [name="text"]');
const textarea = document.querySelector('textarea');
const speakButton = document.querySelector('#speak');
const stopButton = document.querySelector('#stop');
const typedText = document.querySelector('[name="text"]').value;
msg.text = typedText;
function populateVoices() {
voices = this.getVoices();
voicesDropdown.innerHTML = voices
.filter((voice) => voice.lang.includes('en') || voice.lang.includes('ko'))
.map(
(voice) =>
`<option value="${voice.name}">${voice.name} (${voice.lang})</option>`
)
.join('');
}
function setVoices() {
  msg.voice = voices.find((voice) => voice.name == this.value);
}
function toggle(startOver = true) {
speechSynthesis.cancel();
if (startOver) {
speechSynthesis.speak(msg);
}
}
function setOption() {
console.log(this.name, this.value);
msg[this.name] = this.value;
}
speechSynthesis.addEventListener('voiceschanged', populateVoices);
voicesDropdown.addEventListener('change', setVoices);
options.forEach((option) => option.addEventListener('change', setOption));
speakButton.addEventListener('click', toggle);
stopButton.addEventListener('click', toggle(false));
|


